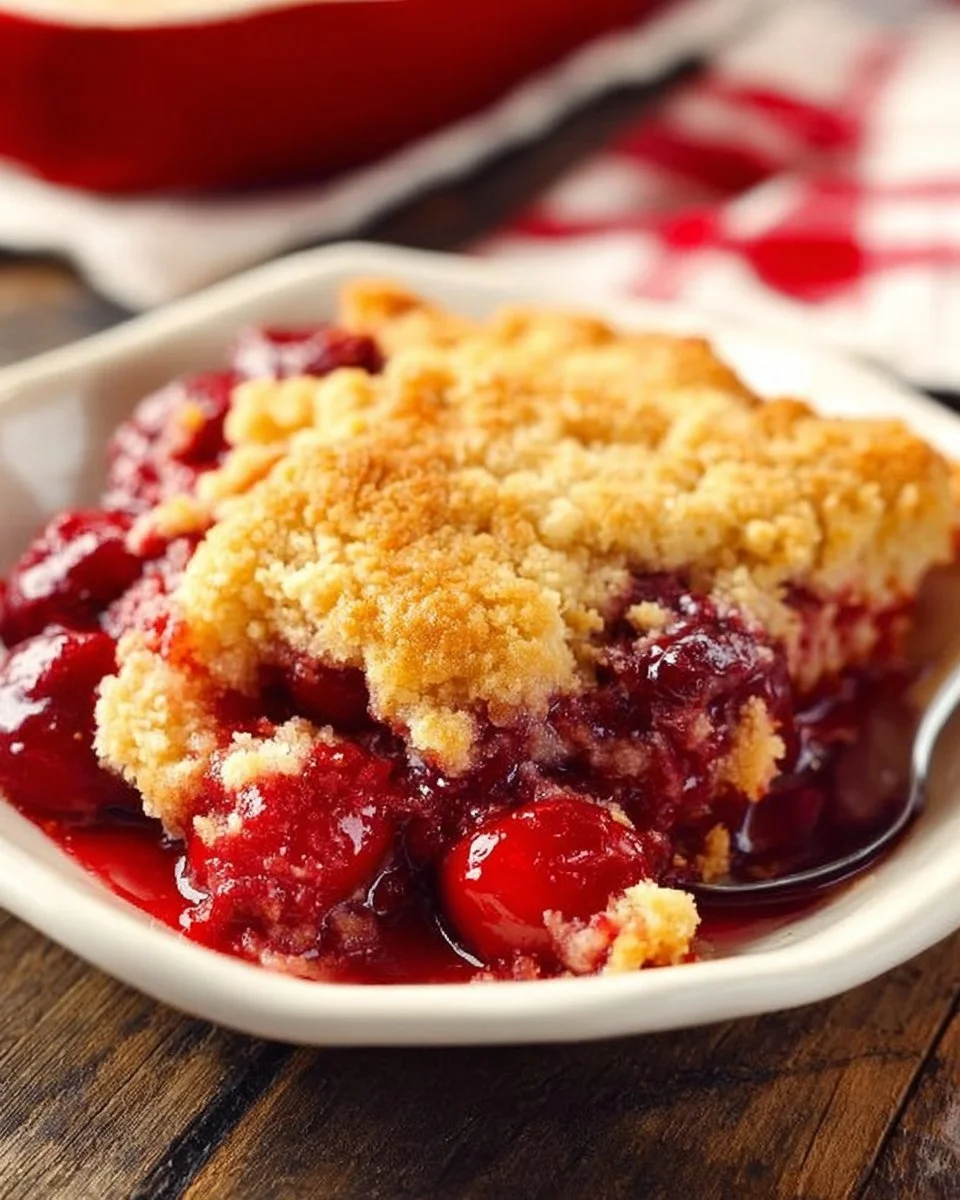
Cherry Dump Cake
Cherry Dump Cake is an incredibly simple yet delightful dessert that brings together the sweet-tartness of cherries and the warmth of a cozy cake. This decadent treat is perfect for gatherings, weeknight desserts, or even those lazy Sunday afternoons when you want something special without the fuss. The beauty of this dish lies in its low-effort preparation—just dump the ingredients in, let them bake, and you’re rewarded with a delightful, gooey dessert that pairs beautifully with vanilla ice cream. What could be better?
Why you’ll love this dish
Cherry Dump Cake is not just a dessert; it’s a slice of nostalgia. It’s the kind of recipe that elicits fond memories of family gatherings and potlucks. One of the biggest draws of this cake is how effortlessly it comes together—it’s a one-pan wonder! On busy days, a homemade dessert may seem out of reach, but this recipe makes it feasible and satisfying.
It’s also perfect for any occasion, whether you’re celebrating a birthday, hosting a casual dinner with friends, or simply treating yourself. With minimal ingredients and prep time, you can whip it up in no time. Plus, it’s kid-approved, so it’s a great way to get little ones involved in the kitchen. Just watch out for those sticky fingers!
“I couldn’t believe how easy this was! I made it for a potluck and everyone loved it. It was a real crowd-pleaser.”
Step-by-step overview
Making Cherry Dump Cake is as straightforward as it gets. Here’s how it works: you start by greasing your slow cooker, then layer in the cherry pie filling and cake mix. Drizzle melted butter on top, cover, and let it cook until it’s bubbling and golden. It’s perfect for busy evenings when you want dessert to take care of itself while you focus on the main meal or winding down your day.
What you’ll need
To make this dessert, gather the following items:
- 1 can cherry pie filling
- 1 box yellow cake mix
- 1 stick butter, melted
- Vanilla ice cream (for serving)
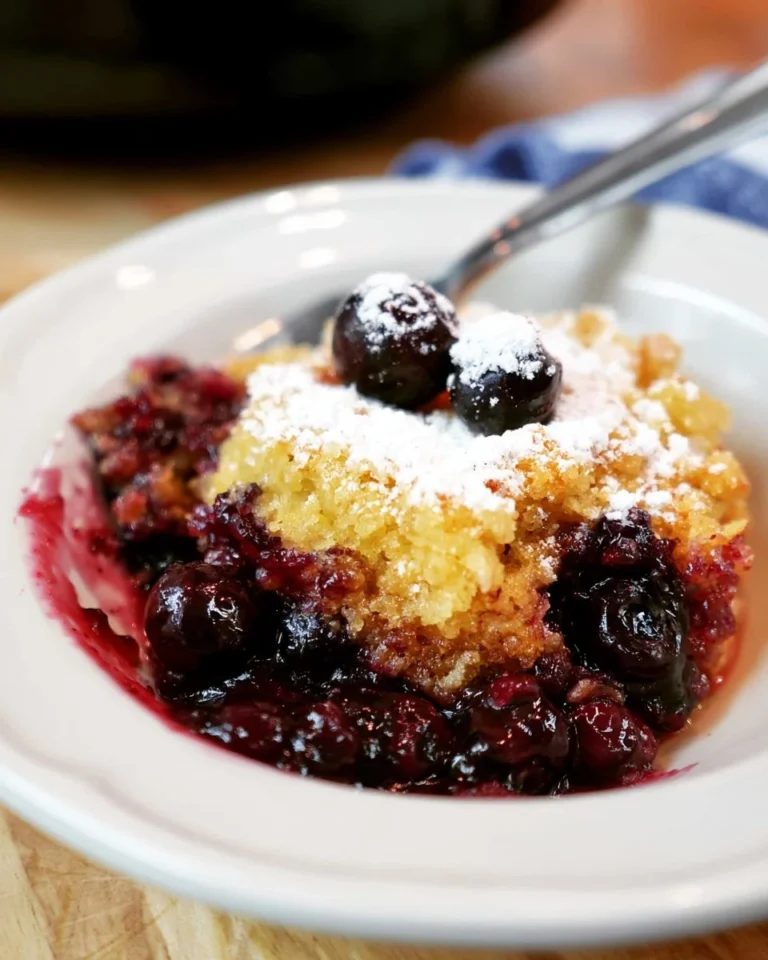
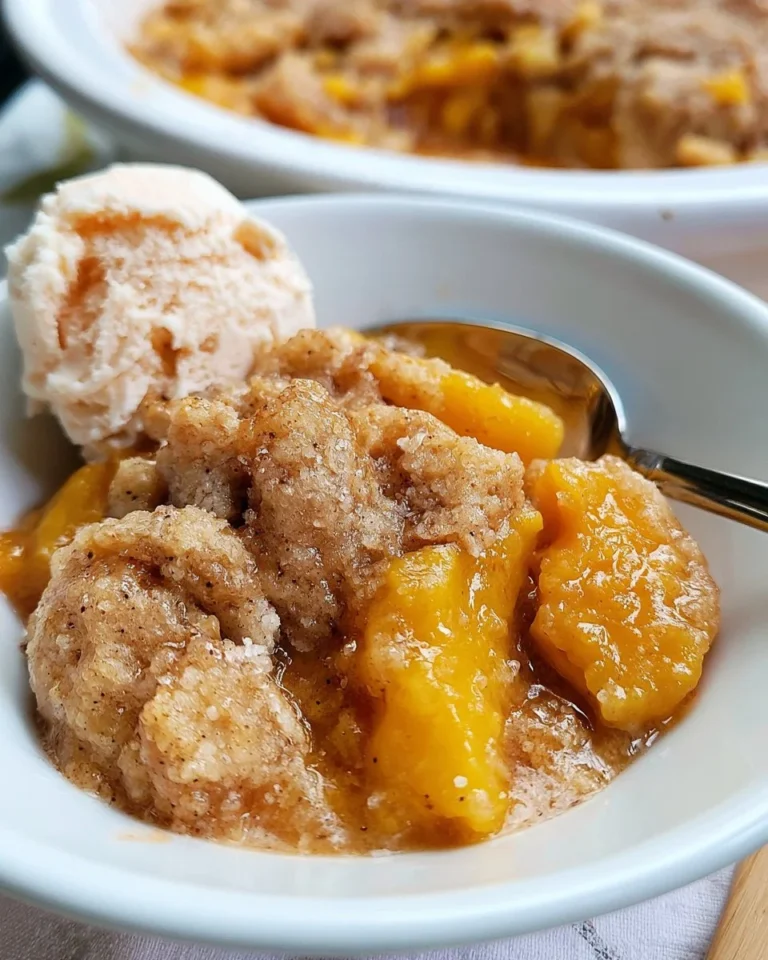
Feel free to play with these ingredients! The cherry filling can be swapped for other fruits like peaches or blueberries if you’re looking for a change.
Directions to follow

- Begin by greasing your slow cooker to prevent sticking.
- Pour the cherry pie filling evenly into the bottom of the slow cooker.
- Next, sprinkle the cake mix over the cherry filling, ensuring it covers the surface evenly.
- Drizzle the melted butter over the cake mix, trying to cover as much of it as possible.
- Cover and cook on low for 2-3 hours, or until the cake is cooked through and bubbly.
- Serve warm with a big scoop of vanilla ice cream on top for an extra treat!
Best ways to enjoy it
A scoop of vanilla ice cream pairs deliciously with the warm Cherry Dump Cake. It’s also delightful with a sprinkle of fresh cherries on top or a drizzle of chocolate sauce for a more indulgent touch. For a cozy brunch, serve it alongside coffee or tea for a sweet ending.
How to store & freeze
To keep your Cherry Dump Cake fresh, store any leftovers in an airtight container in the refrigerator. It will last for about 3-4 days. When reheating, just pop a slice in the microwave for a few seconds until warm. For longer storage, you can freeze the cake—simply let it cool completely, slice it, and wrap it tightly in plastic wrap before placing it in a freezer-friendly bag. It should maintain its quality for up to three months. Always ensure proper food safety practices by reheating thoroughly before serving.
Helpful cooking tips
To get the best texture and flavor from your dump cake, here are a few helpful tricks:
- Use a quality cherry pie filling for a rich taste.
- Ensure your butter is uniformly drizzled so every bit gets that lovely moist texture.
- If using a different fruit filling, consider adding a sprinkle of cinnamon or nutmeg for a warm spice kick.
Creative twists
If you want to put a spin on this classic, how about trying different flavor combinations? Swap the cherry filling for blueberry or apple for a different fruit burst. You could also introduce nuts or shredded coconut on top for added crunch. Experiment with cake mixes; a chocolate mix could give you a brownie-like treat—divine!
Common questions
What’s the prep time for Cherry Dump Cake?
Prep time is minimal—around 10 minutes!
Can I use a different type of fruit filling?
Absolutely! Peach, blackberry, or mixed berry fillings work beautifully too.
How do I store leftovers safely?
Store leftovers in an airtight container in the fridge for 3-4 days.
Can I make this in the oven?
Yes! If you prefer oven baking, preheat to 350°F and bake for about 30-40 minutes, checking for doneness.
This Cherry Dump Cake is a sweet reminder that delicious desserts don’t have to be complicated. Whether for a family dinner or just a treat for yourself, it delivers comfort and satisfaction with every bite. Happy baking!
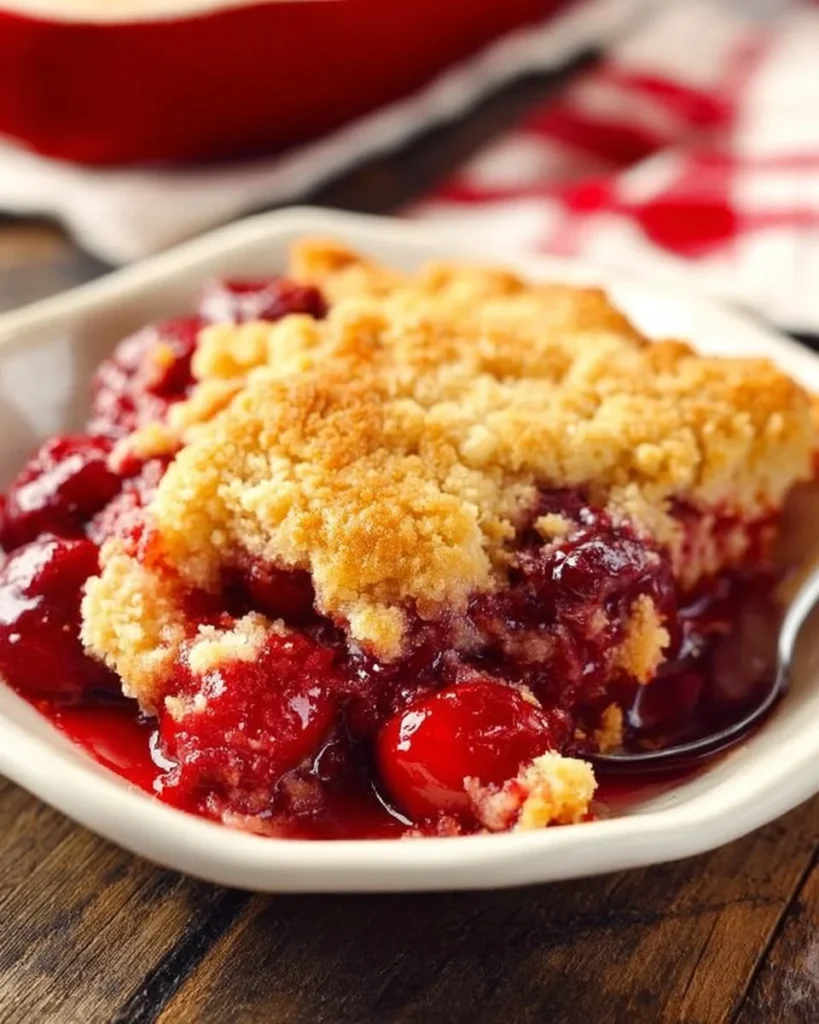
Cherry Dump Cake
Ingredients
Method
- Begin by greasing your slow cooker to prevent sticking.
- Pour the cherry pie filling evenly into the bottom of the slow cooker.
- Sprinkle the cake mix over the cherry filling, ensuring it covers the surface evenly.
- Drizzle the melted butter over the cake mix, trying to cover as much of it as possible.
- Cover and cook on low for 2-3 hours, or until the cake is cooked through and bubbly.
- Serve warm with a big scoop of vanilla ice cream on top for an extra treat!